When you received your Zero Delay Arcade USB Encoder. Please read this guide to wire it up!
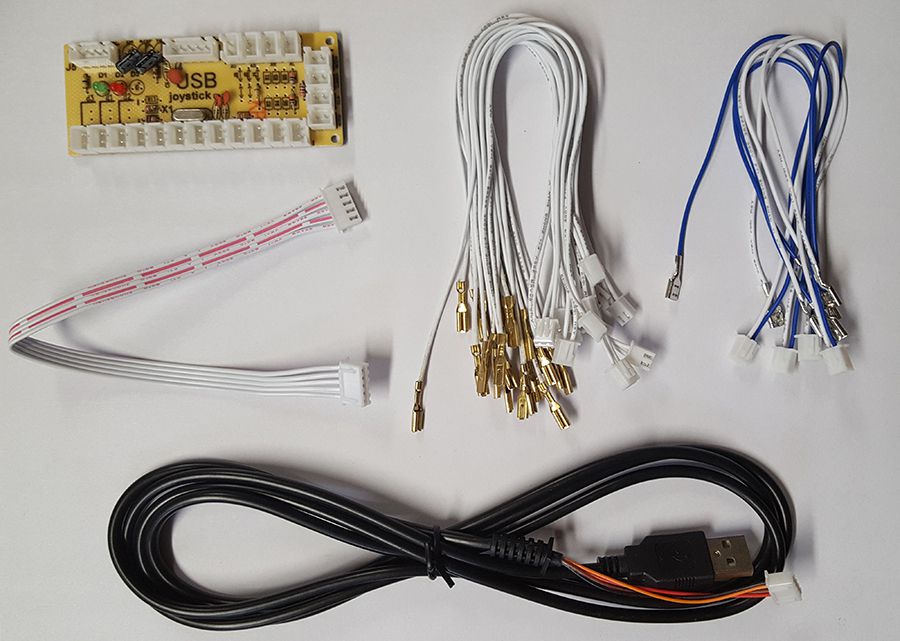
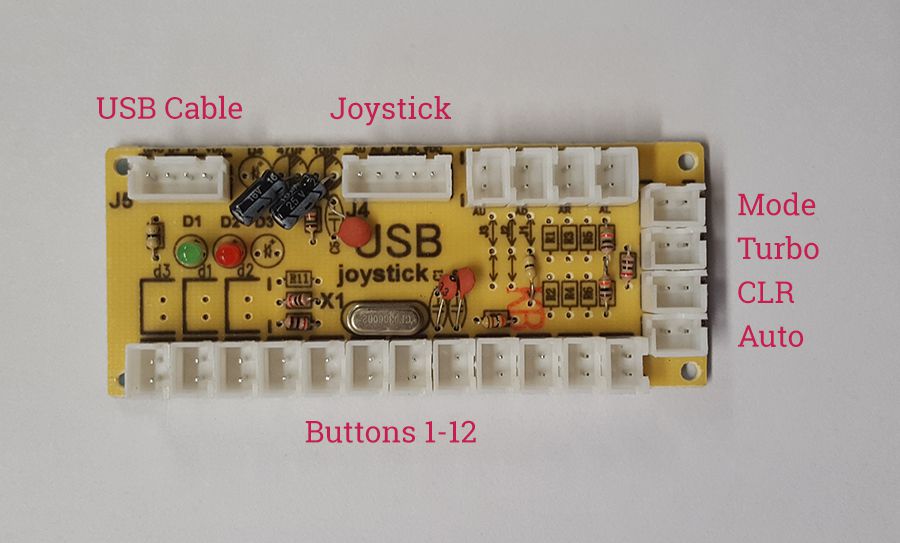
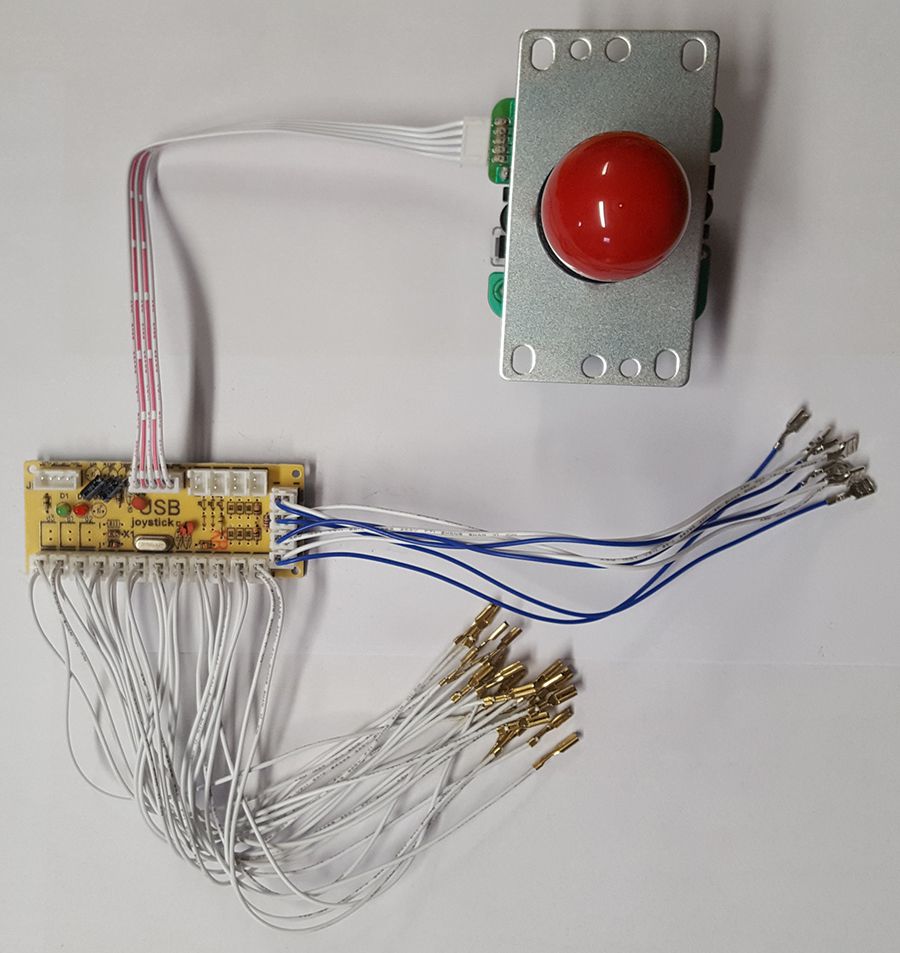
Start by getting the USB Encoder PCB board and take note of the connections.
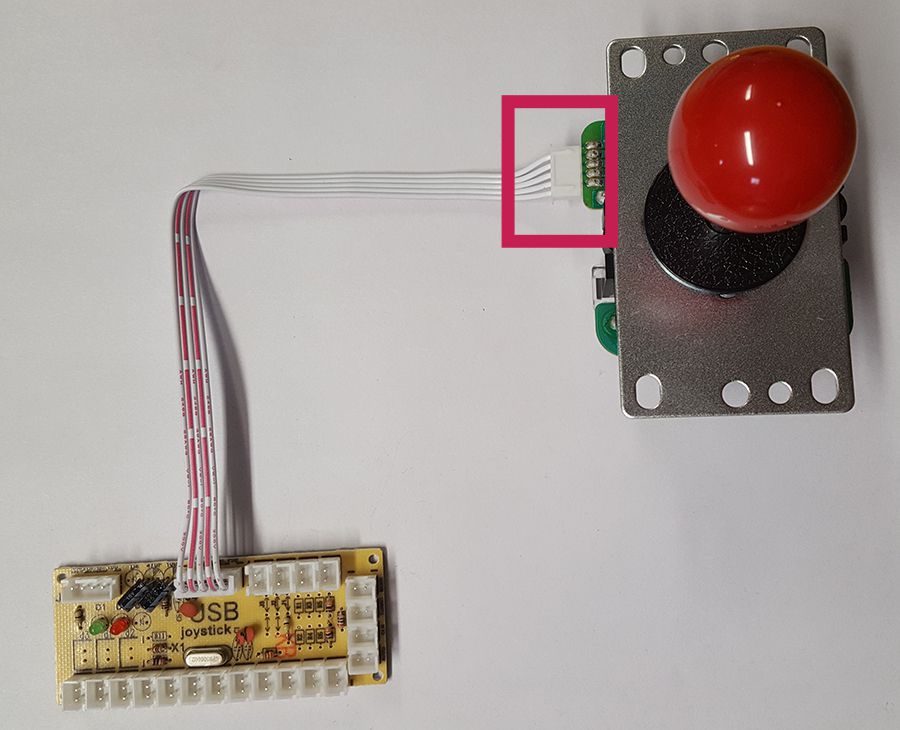
We are going to wire up the arcade Joystick first, so grab that and the ribbon cable.Plug one end of the ribbon cable into the arcade joystick port, then plug the other end onto the 5 pins on the joystick. Make sure to get the orientation correct, which is white side of the ribbon facing up, towards the red ball on the arcade joystick
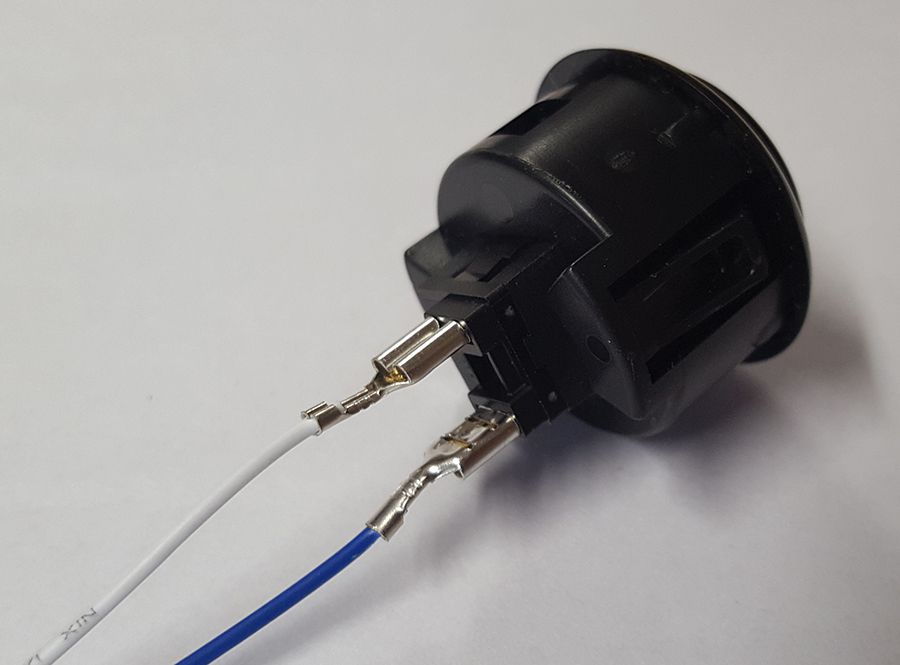
Once we’ve got that sorted, we can start to plug in the arcade button wires. Let’s start with the pre-defined buttons. For these we are going to use the blue and white wires.
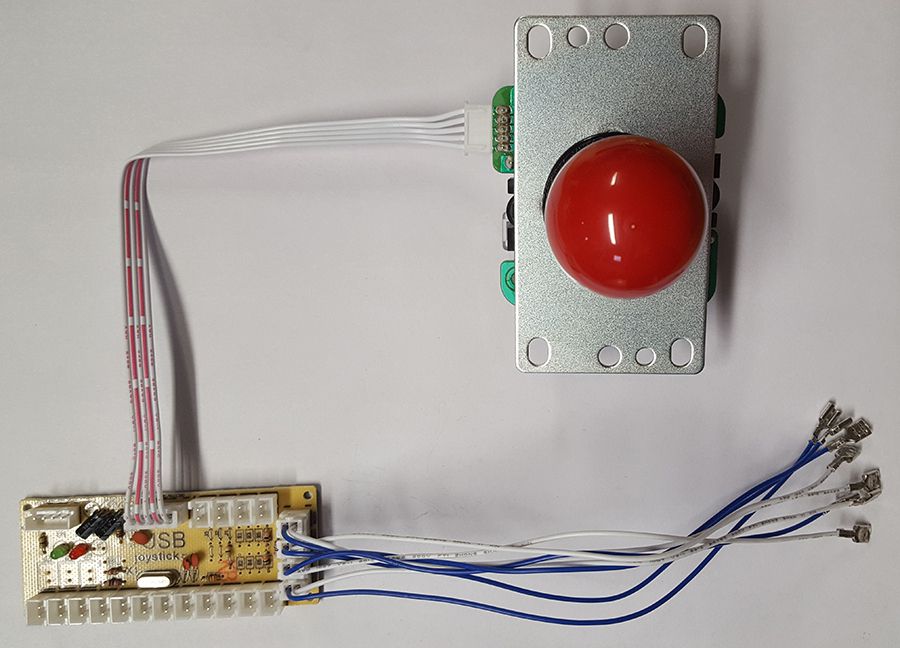
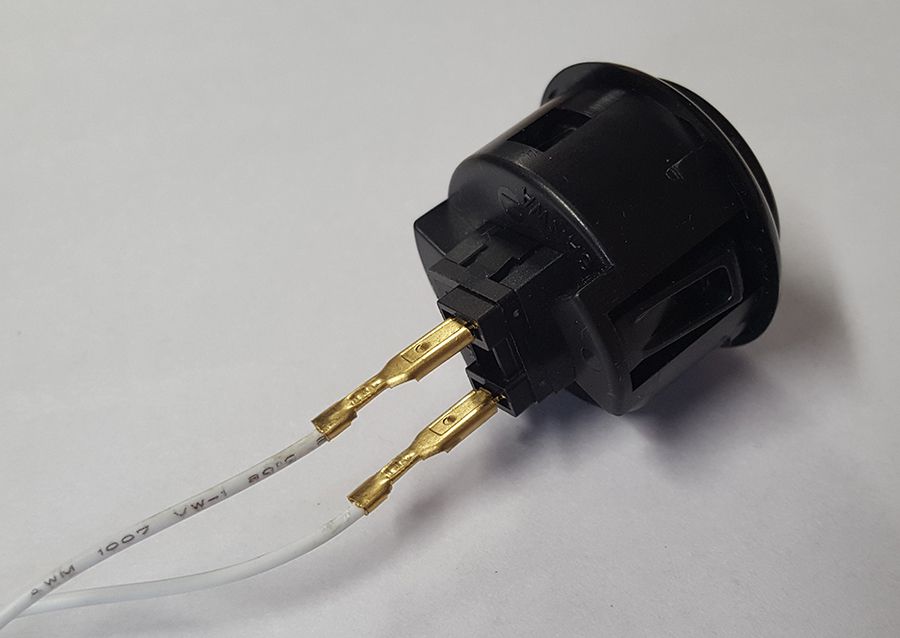
Then use the white and white wires for the 12 user defined buttons.
You can then plug your buttons into these wires. Simply push the female spades connects on the wire, over the male spade connector on the arcade button. Make sure you push down on the button whilst inserting the spade connector, this will make sure you don’t accidently desert the connector.
With all the arcade buttons and arcade joystick wired up, it’s now just a case of plugging the Arcade USB Encoder.

Now, Arcade USB Encoder board has been done with arcade buttons and arcade joystick. You can play many arcade games.